In Brightspace, you can review and mark students’ discussion threads and provide feedback in several ways.
The Brightspace Discussions tool allows users to create posts, known as threads, for others to reply to. This may be in real time, for example in a class setting, or over a longer period.
Discussions encourage students to contribute to the Brightspace site. Depending on the context, they can be a means for students and staff to communicate and interact with one another, to work co-operatively, or to collaborate on a task or activity. Used appropriately, a discussion can be a powerful way to foster social learning, build connections, and develop higher order thinking skills.
In the Discussions tool, threads are organised by forum and topic, as shown below:

Forum: Think of the forum as the space or container where discussions happen. It is like a big room where people can talk about various topics. For example, a forum where students post questions about what they are studying each week might be called “Weekly Q+A”.
Topic: Now, imagine each specific conversation or subject happening within that big room. Each of these specific conversations is like a topic. So, a forum is the big room, and each topic is a separate discussion within that room. For example, a topic in the “Weekly Q+A” forum might be called “Week 3 Questions”.
Thread: A thread is like an individual message or post within a specific topic. Think of it as a single comment made by a participant in that discussion.
Discussions can generate evidence to enable one or more learning outcomes in a subject to be assessed. In Brightspace, this happens by:
This article guides you through the steps required.
Quick Eval allows you to gain an overview of all submissions that require marking across the Assignments, Quizzes, and Discussions tools, including posts in a discussion topic. To access Quick Eval, follow the steps in Mark Assignments under Access assignment submissions.
First, check the discussion topic has been configured to allow marks and feedback. A topic that carries assessment weighting must also have a grade item linked to it.
To configure a topic to allow marks and feedback, follow these steps:
![]()
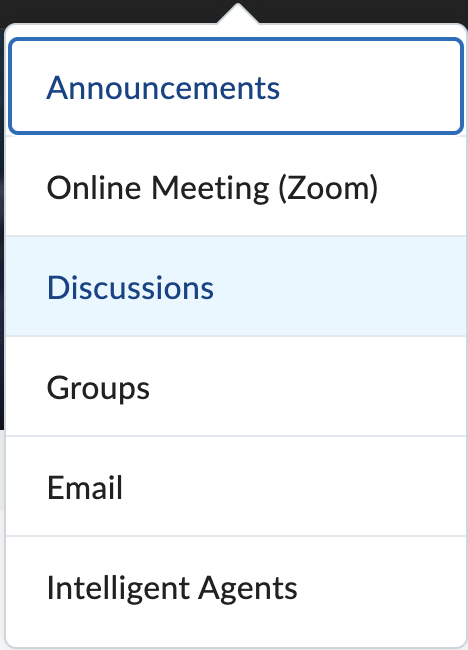
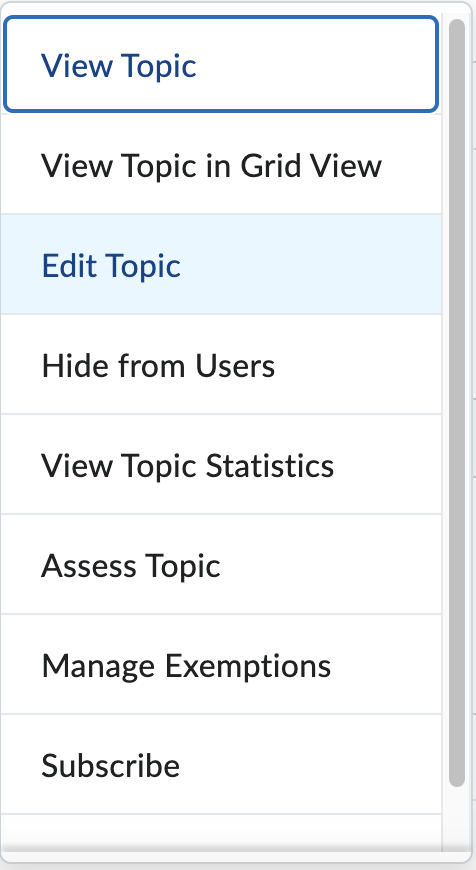

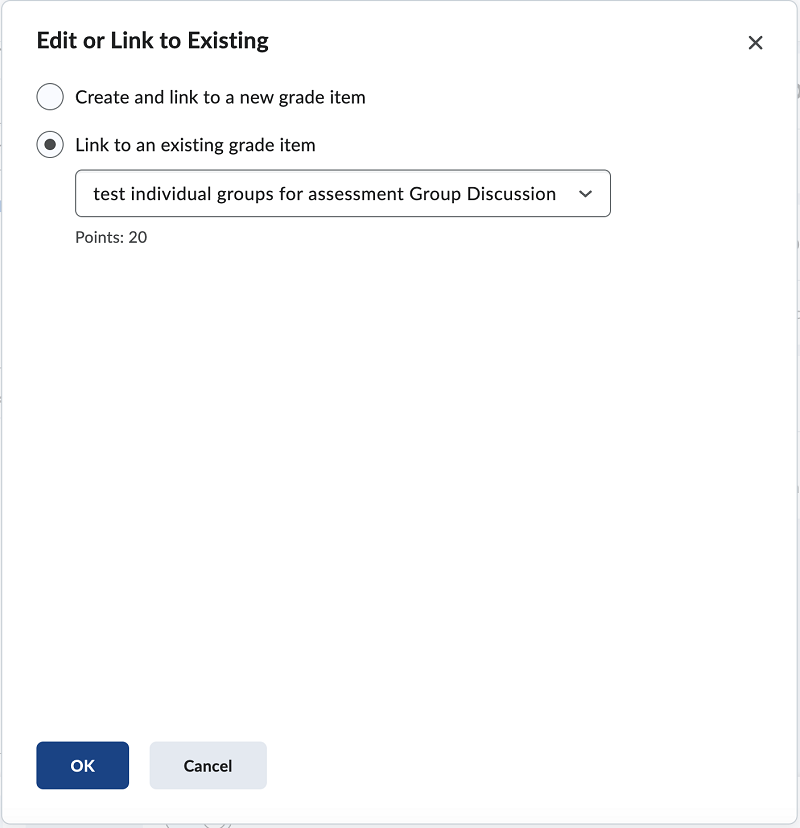
For more information about My Grades, see Set up My Grades.

Your discussion topic is now configured to include marks and feedback. You can check this by verifying that the rosette icon (“includes assessment”) appears under the topic.
![]()
For each discussion topic you can also adjust the following settings by opening the expanding accordion bars on the right of the screen:
Availability Dates & Conditions: With the Start date and End date fields you can specify when the discussion forum topic will become available and when it will no longer be available to students. You can also set up any Release Conditions and assign Sections and/or Groups to the topic if these have already been set up.
Post & Completion: These settings enable you customise the way that students participate in the forum.
Evaluation & Feedback: These settings allow you to add rubrics and specify how topics will be marked – overall (mark assigned for a student’s total contribution to a topic) or post by post (marks assigned to students’ individual posts in a topic).
Ensure you name your discussion forum topics according to any agreed naming conventions so that you can identify them more easily. For example, BD: A1 – Client scenario (Forum task) has a similar name to the grade item for easier identification.
If the box “Allow evaluation of individual posts” in Evaluation and Feedback is checked, marks can be assigned to each post a student makes within a topic. Brightspace then automatically calculates an overall mark for each student for the topic, based on the marks assigned to individual posts.
You can choose the most suitable calculation method from the list in the drop-down menu:
To mark student submissions within a topic:

You will only see this option when assessment is included in the topic.
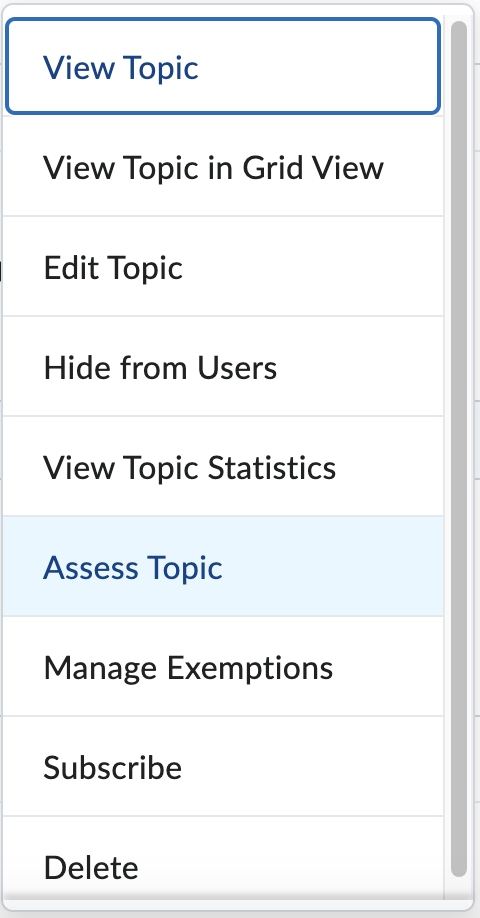
As an alternative, you can click on the new posts (number) hyperlink to open and mark unread posts. You can also View the topic, find an individual student’s post, and click Assess Student.

If a no-score rubric is in use, you will need to enter a mark in the Overall Grade field.
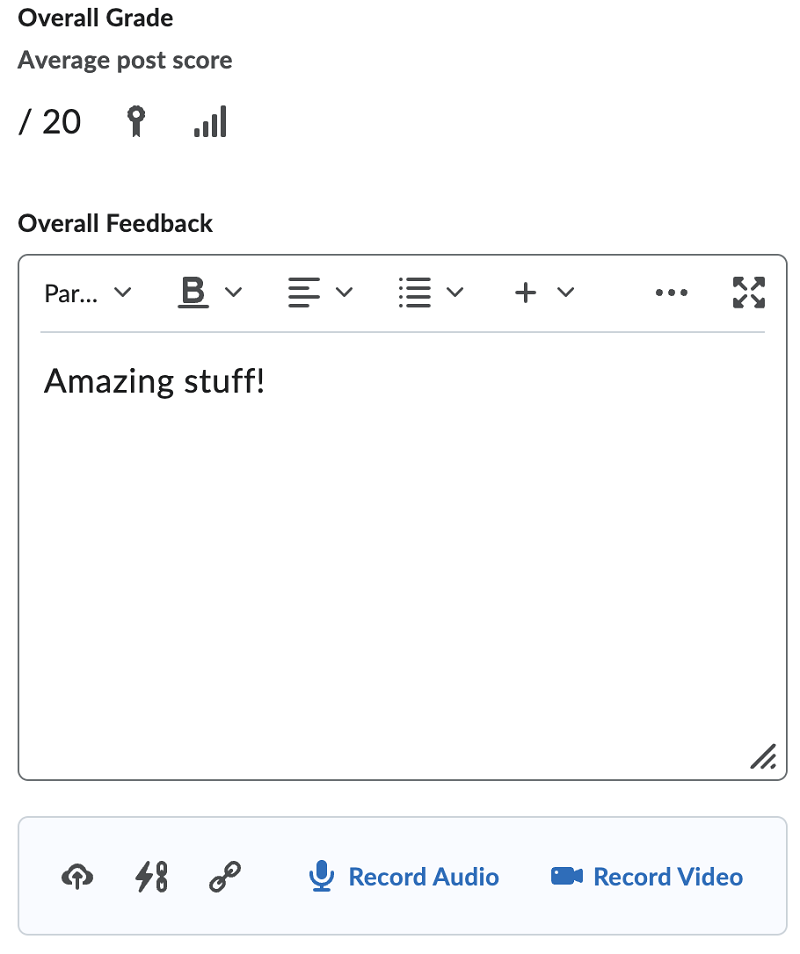
If you click Publish, the marks and feedback are immediately visible to students. Where a discussion carries assessment weighting, the marks will be transferred to My Grades. The option to Publish should only be used with authorisation from the subject convenor or subject coordinator in a case where the submission does not require manual moderation.
To mark the next students’ submission, click the right arrow at the bottom of the screen next to the Save Draft button. This feature helps to maintain continuity in the marking process.
You can create group discussions, but marks need to be assigned to each individual student within the group.
You cannot publish or save your draft if the content in the Overall Feedback field exceeds 300,000 characters. If the content in this field exceeds the character limit or if the Overall Grade field contains an invalid grade, a dialogue box will appear, and a tooltip will show stating, "There are one or more errors in the information entered" when you attempt to save or publish.
If you need to re-mark any student submission, you can retract a mark or feedback previously allocated to a student. You can also republish the mark and feedback after changes have been made.
To Retract/Republish marks:
![]()


You can carry out this operation for all students in bulk. To do this, first select the check-box at the top of the list. All students’ names will be selected.
The Status column provides more information such as: whether a topic has been marked, whether a mark/feedback is currently saved as a draft, whether a mark/feedback has been published, and when publication occurred.
This page may be updated at any time. If you print it, you could miss future changes. Please check this page regularly for the latest updates.