Creating Turnitin reports for similarity checking of written response questions in Brightspace quizzes can help promote academic integrity and help to ensure the authenticity of students’ work. In this article you will learn how to export written response, short answer, and multi answer quiz questions and import them into Turnitin for similarity checking.
To do this we need to:
These instructions are for PC Users. There is currently no Mac version of this Excel add-in. Mac users will need to use the Virtual Desktop Interface (VDI). Information about VDI for those who need it are at DIT Help VDI (Horizon VMware).
Access your subject in Brightspace. Go to the manage quizzes screen via
Assessments > Quizzes and Exams or Subject Admin > Quizzes
Locate the quiz you wish to export. Click on the drop-down menu and select Grade.
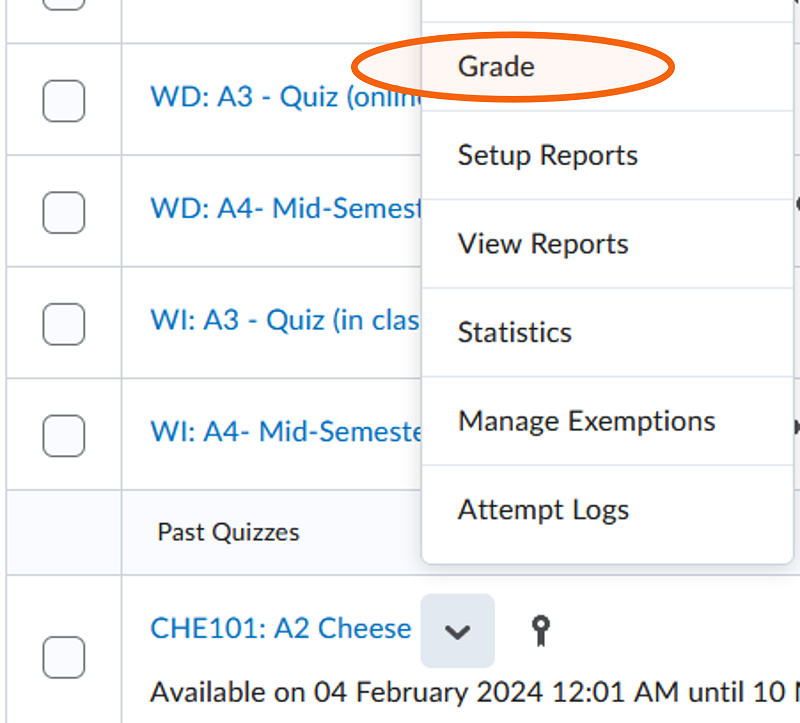
In the Grade Quiz screen, select Export to Excel.

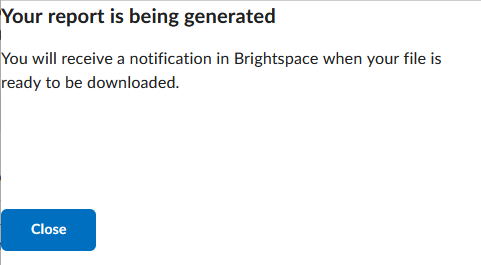
You will receive a confirmation notice that the data is being exported and will be notified when your file is ready.
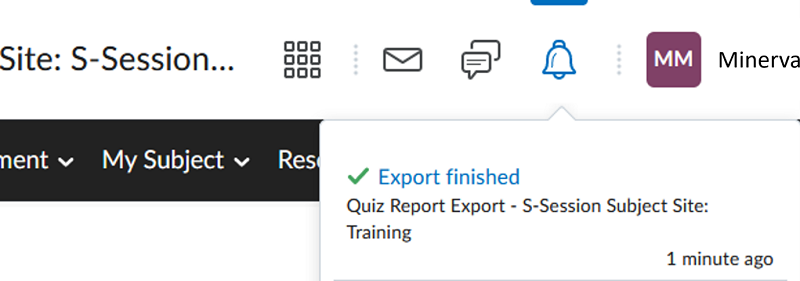
When the file is ready you will receive a notification in Brightspace. You can access your notifications by clicking on the bell icon in the Brightspace menu. Click on the icon, then click on the notification about the export.
You will be taken to a screen where you can download the export file.
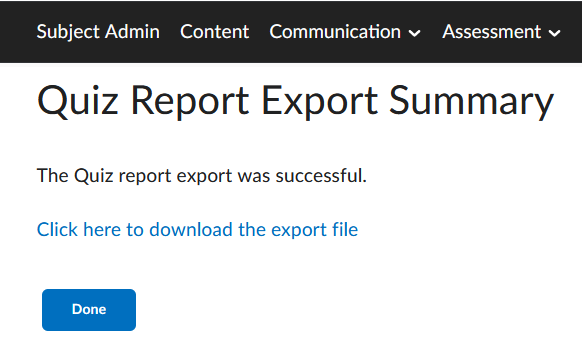
Download the file and save it in your desired folder.
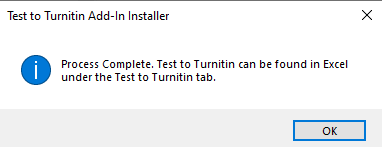
This installs the test to Turnitin tab in Excel, which will allow for the simple conversion of a Brightspace quiz export to a file that can be uploaded within Turnitin for originality checking.
This will only need to be done the first time you use the tool.
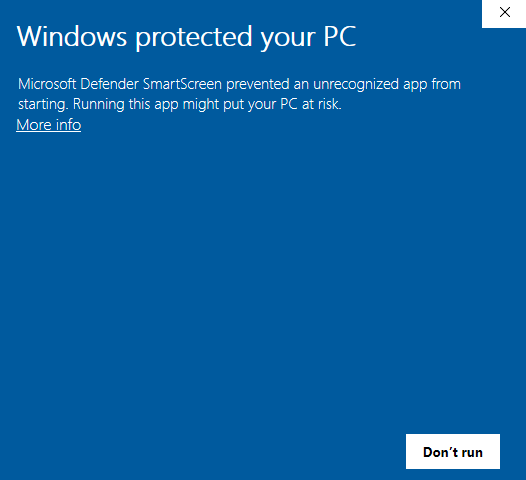
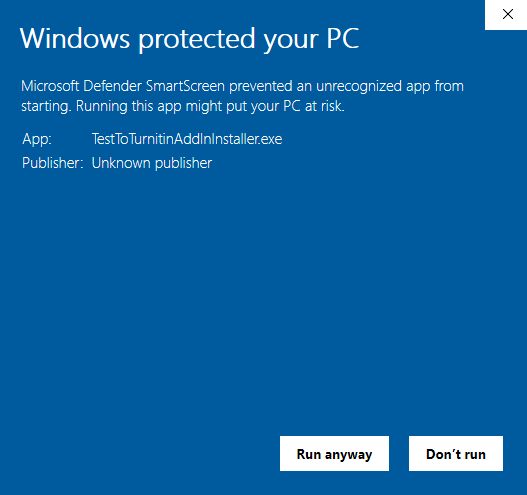
If installing on a personal computer, the following steps can still be followed, but you may not see all the security pop-up boxes.
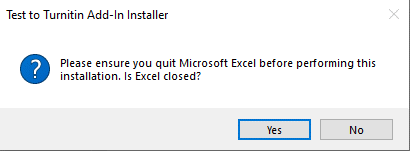
If Excel is open, close it before starting the installation process.


Locate and open the Excel file downloaded from the quiz.

Click Test to Turnitin, which will open the menu options
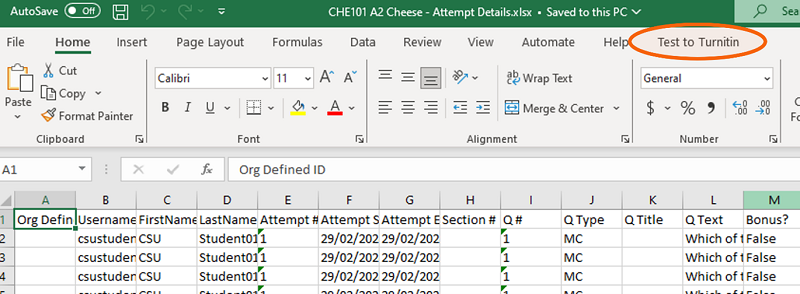
Click the Test to Turnitin run icon

A pop-up confirmation box will appear. If you have students with multiple attempts, you can choose whether to export all attempts or only the latest attempt.

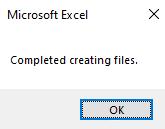
You will get a message when the export is completed
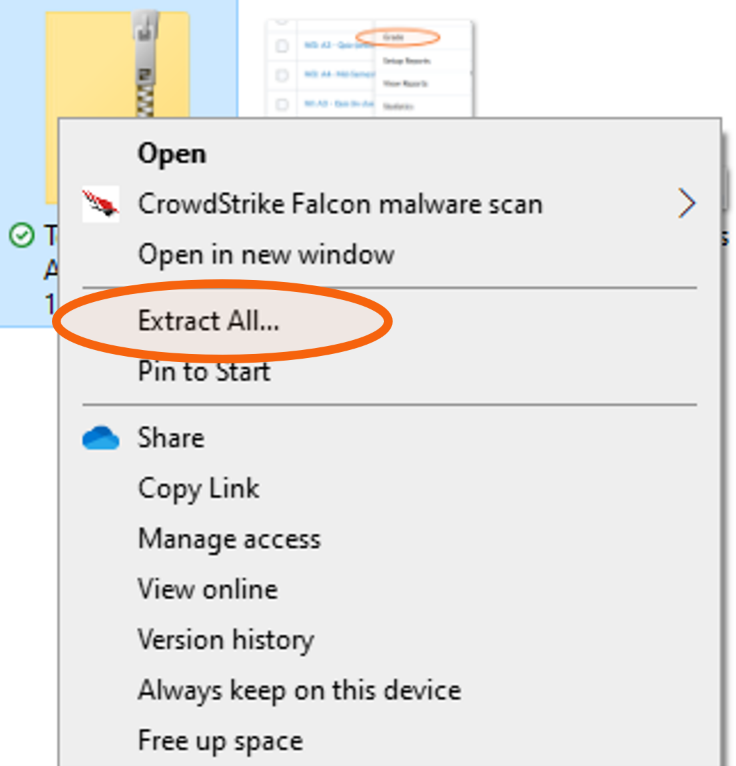
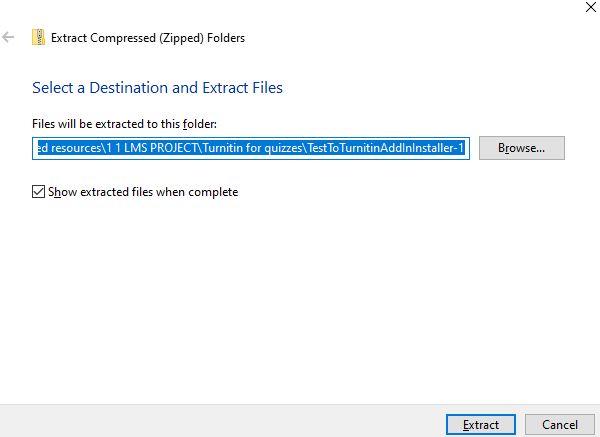
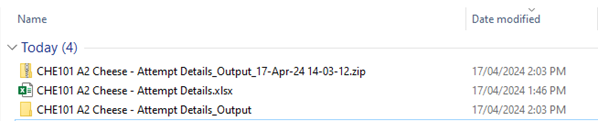
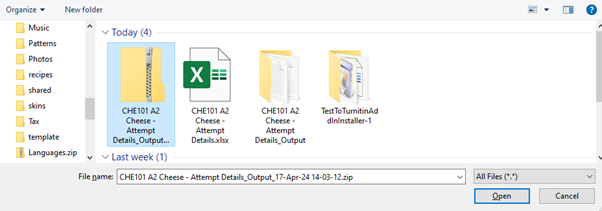
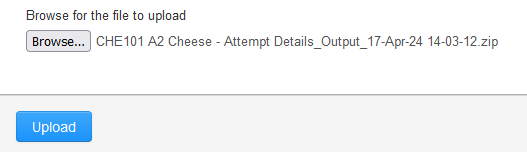
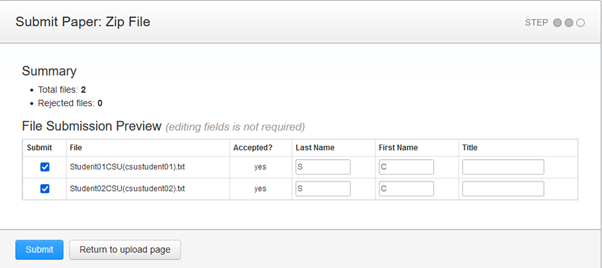
Navigate to the folder where the Excel file was downloaded. You should see an output folder and an output zip file in that folder. The output folder is simply for you to review text files, should you need to do so. The zip file can be used for uploading into Turnitin.
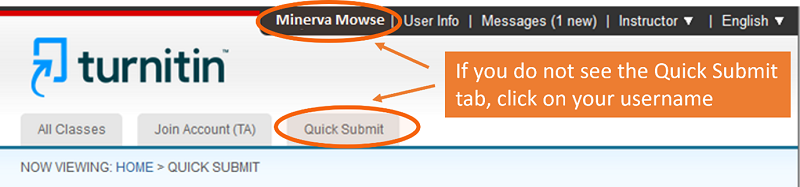
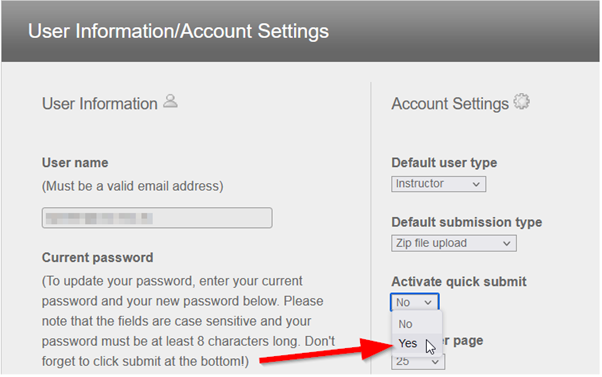
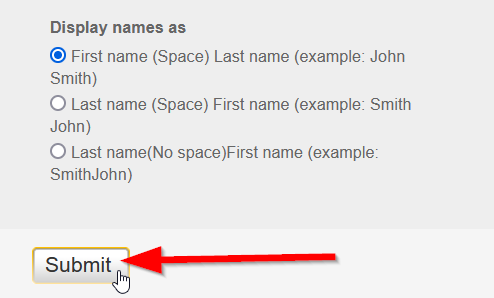
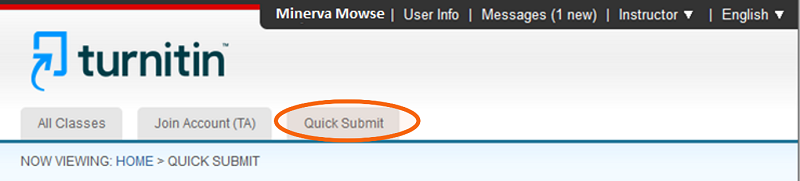
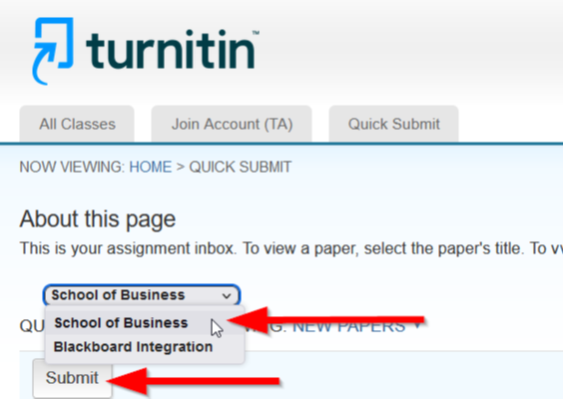
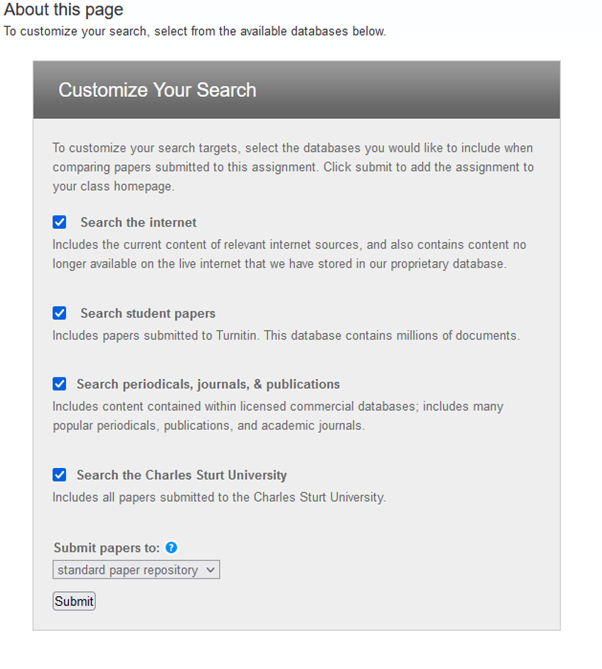
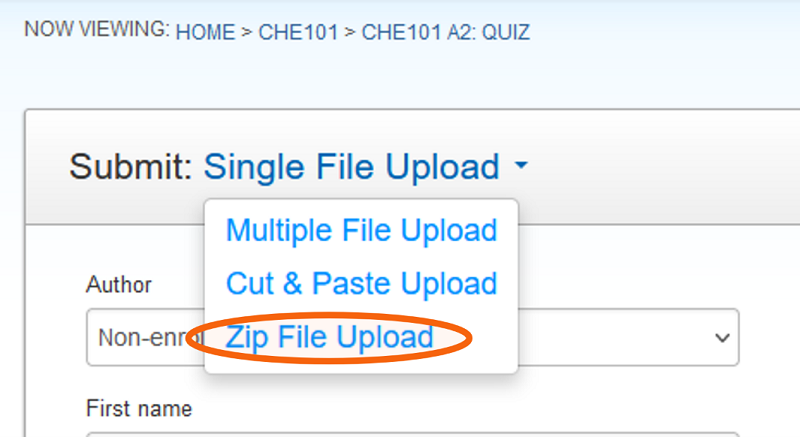
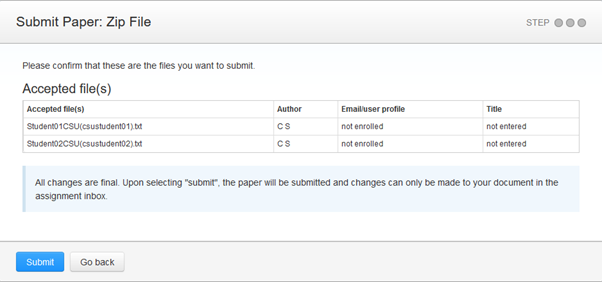
Importing the responses into TurnitinYou will be using Turnitin’s Quick Submit feature to import the responses and do the similarity checking. If you have not used this feature before and it is not present in the menu you may need to activate it.

This page may be updated at any time. If you print it, you could miss future changes. Please check this page regularly for the latest updates.