This guide provides an overview of inserting files and links within Brightspace content areas to enhance your subject materials and make them more engaging for students. In most cases, you will do this within the master site if you are updating or creating core content for your subject.
For information about creating content pages, see Organise subject content.
You may only upload or insert material such as files, images and other content in the LMS when permitted under copyright law and Charles Sturt policy. See the Copyright Support site for more information.
When you are in your Brightspace master or subject site access the content item you wish to edit. To do this:
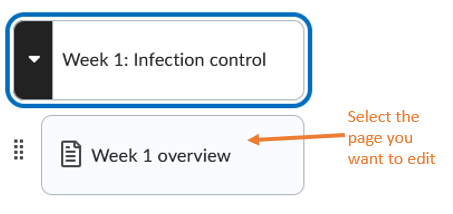
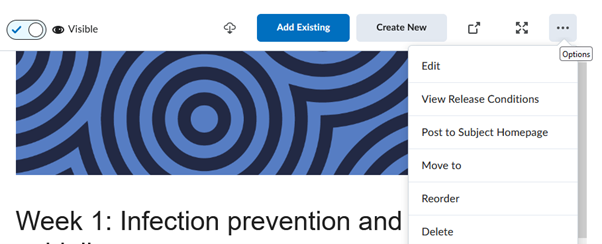
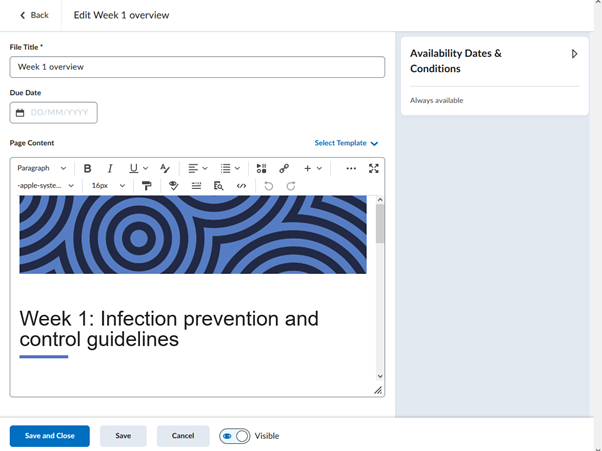
In this guide we will be focusing on the content insertion options in Brightspace.
Insert images from toolbar by clicking on the image icon

Choose the file location and follow the prompts to upload or link to the image you want to insert. 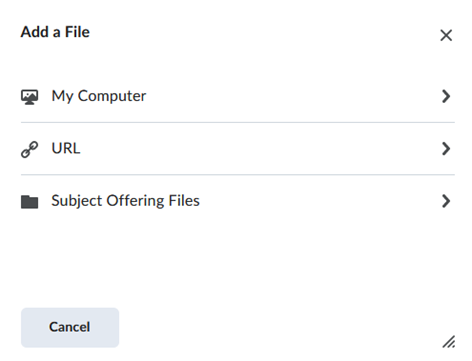
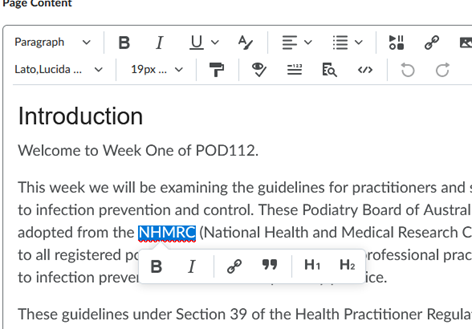
If you click and drag your mouse to select text a “mini editor” will appear. You can use this to add in bold or italics, headings, or to add in a link.
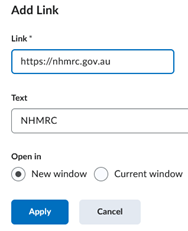
It is best to have links open in a new window, in most cases.
The insert stuff tool allows you to insert various elements directly into your content. Select the insert stuff icon:
![]()
A list of options will appear:
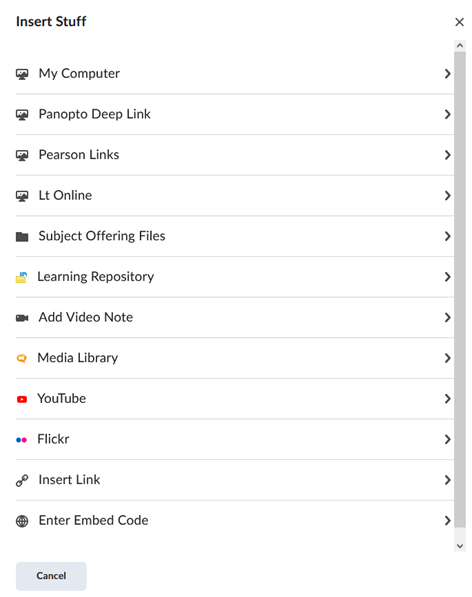
Insert Stuff includes options for:
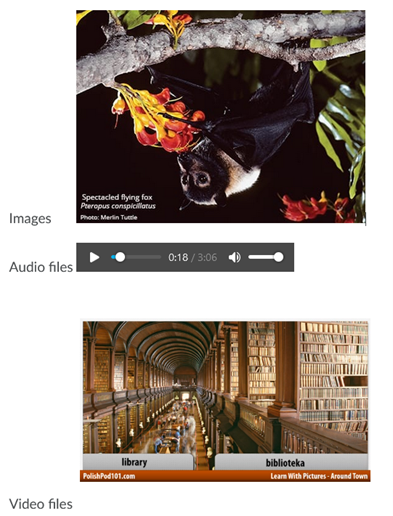
To insert a link, choose the option you wish to insert and then follow the prompts on the next screen to browse to, search for, or create your content.
Each option will have a slightly different process.
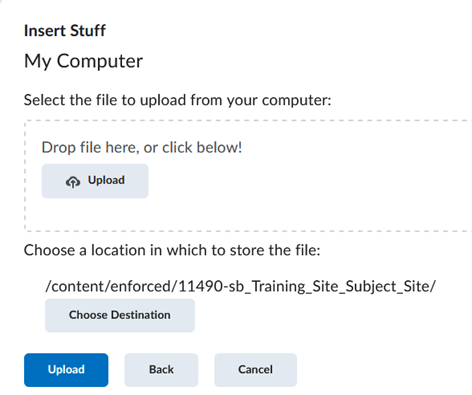
The Insert Stuff My Computer dialogue box allows you to browse to, or drop files, to upload and link, or insert your files depending on their file type.
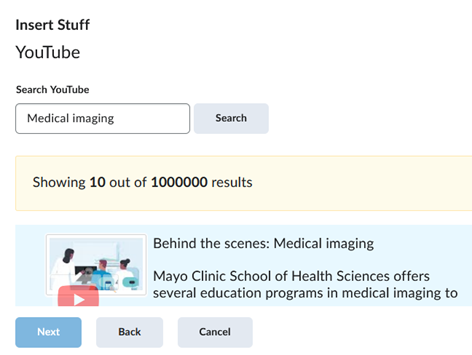
Other options, like this example of Youtube, will require you to perform a search for media that you can then select and insert:
Some options will require you to create or upload media, like this example about inserting Video Notes:
![Insert stuff – Video Note – dialog box]](https://cdn.csu.edu.au/__data/assets/image/0008/4320872/embed18.png)
Quicklinks simplifies creating internal links to existing resources and tools within your Brightspace subject, ensuring students can easily navigate your materials. It makes it easy to create internal links that direct students to discussions, assignments, or other content you've already created.
Creating the links in this manner ensures that they remain properly linked and will not become broken when the master site is duplicated into the subject site.
To insert a Quicklink, select the Quicklinks icon
![]()
A list of options will appear. From here you can choose to link to subject materials or third-party tools.
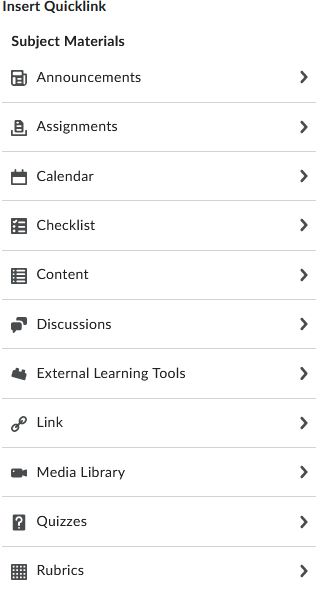
Select the item you wish to link, and follow the prompts on the next screen.
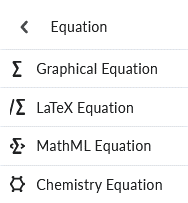
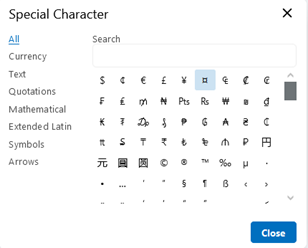
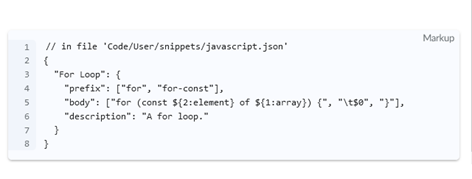
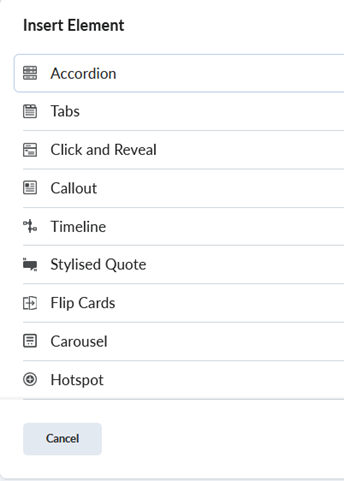
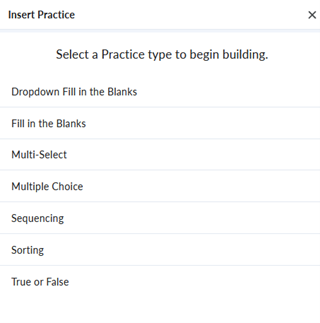
The third menu item for inserting files into your subject is the + icon.
![]()
Select the item you wish to insert and follow the prompts on the next screen.
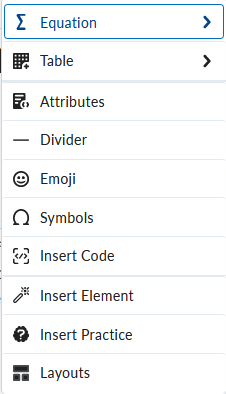
Here’s a brief overview of the different options available:
For further reference on specific Brightspace features mentioned in this guide, refer to the following Brightspace community articles:
This page may be updated at any time. If you print it, you could miss future changes. Please check this page regularly for the latest updates.